Paint Protection Film: Essential Tips for a Successful Application
CALL (253) 533-6776Applying Paint Protection Film (PPF) to your car can seem daunting, especially when you imagine all the potential pitfalls—air bubbles trapped underneath or unsightly wrinkles marring your car's sleek finish. These fears are entirely valid; many DIY enthusiasts struggle with getting that perfect look the first time around.
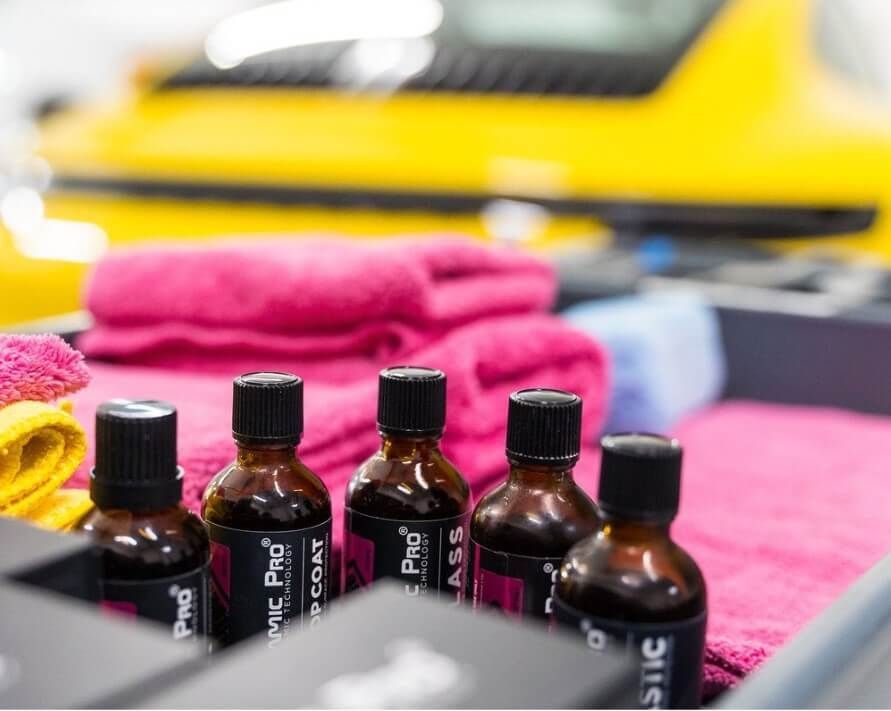
To achieve a successful application of Paint Protection Film, it is crucial to meticulously prepare the vehicle's surface by thoroughly cleaning it and repairing any imperfections before installation. Additionally, using high-quality PPF, following proper installation techniques, and having the right tools—such as a heat gun and squeegee—can significantly enhance the durability and appearance of the film after application.
Essential Tools for PPF Application
When embarking on your journey to apply Paint Protection Film (PPF), understanding the tools needed isn't just helpful—it’s essential.
First and foremost, the heat gun deserves our attention. This tool is invaluable as it softens the PPF, allowing it to be more pliable and easily molded to fit the contours of your vehicle. The ability to adjust the heat means you can control how much flexibility you need for intricate areas. However, remember that too much heat can damage the film or underlying paint; therefore, use it with care.
Next up is the squeegee. This small but mighty tool plays an integral role in stretching and smoothing out the film while helping eliminate air bubbles that can ruin a flawless appearance. Using a squeegee with beveled edges, as professionals often do, will help push out air efficiently and ensure a tight seal along every edge. A well-chosen squeegee can mean the difference between a smoothly applied film and one riddled with imperfections.
Keep your razor blade handy as you work through this process. This precision tool permits accurate trimming of the film around intricate vehicle features—think around door handles, headlights, or curves. Having a steady hand here is vital; you'll appreciate having this tool close at hand to perfect those edges.
To prevent frustration during application, don't forget a spray bottle filled with a soap solution. This magic mixture simplifies your task by acting as a lubricant, allowing you to position the film effortlessly without it sticking prematurely, and helps release trapped air when smoothing it down. Blending water with just a couple of drops of dish soap makes for an ideal solution—you’d be amazed how much easier this makes handling the film!
Finally, having a microfiber cloth within reach is essential too. These gentle cloths ensure that as you clean up the excess solution and smooth down the surfaces, you’re not risking scratches or marks on your precious vehicle. The soft fibers trap dirt and debris while being kind to the PPF and the vehicle’s paint underneath.
With these tools in hand—and once you're familiar with their functions—you'll find that applying PPF becomes not only feasible but also enjoyable! Moving forward, understanding how to prepare your vehicle's surface will be crucial in ensuring a successful installation.
Preparing Your Vehicle's Surface
Step I - Thorough Cleaning
Proper surface preparation is not just an afterthought; it is crucial for ensuring a successful PPF installation. Begin by washing your vehicle meticulously with a high-quality car shampoo tailored for automotive finishes. This step isn't merely about aesthetics; removing dirt, grime, and other contaminants is vital. If these impurities are left on the surface, they can create bubbles or imperfections that will be trapped underneath the film once applied, diminishing the overall effect of the PPF.
Step II - Decontamination
Once you've washed your vehicle, it's time for decontamination. A clay bar works wonders for this task as it helps in removing stubborn contaminants that regular washing may miss, such as tree sap or industrial fallout. When you glide the clay bar across the surface, it picks up these embedded particles, leaving you with a smooth finish ready for film application. For tougher residues, consider using an iron remover to dissolve those unwanted particles effectively.
Step III - Dry Surface Completely
You must ensure the vehicle is completely dry after washing and decontaminating it. Water or moisture lingering on the surface can severely compromise the adhesive properties of the PPF. Use soft microfiber towels to dry every nook and cranny thoroughly. Pay particular attention to areas around seams and edges where water might hide. If possible, allowing your vehicle to air dry in a warm location can also assist; this helps avoid streaks while ensuring no moisture remains.
Step IV - Inspect and Correct
An inspection of your vehicle's paintwork completes the preparation process. Look carefully for any scratches, chips, or imperfections that could affect the PPF's appearance or performance. Addressing these flaws before applying the film is essential. Polishing out minor scratches can restore clarity and smoothness to the paint surface, while touch-up paint can save you from deeper chips. This final check ensures that you're starting with a flawless base that directly reflects the longevity and effectiveness of your PPF application.
Having established a pristine foundation through each of these steps ensures you’re prepared to move forward into the detailed directions for laying down your protection.
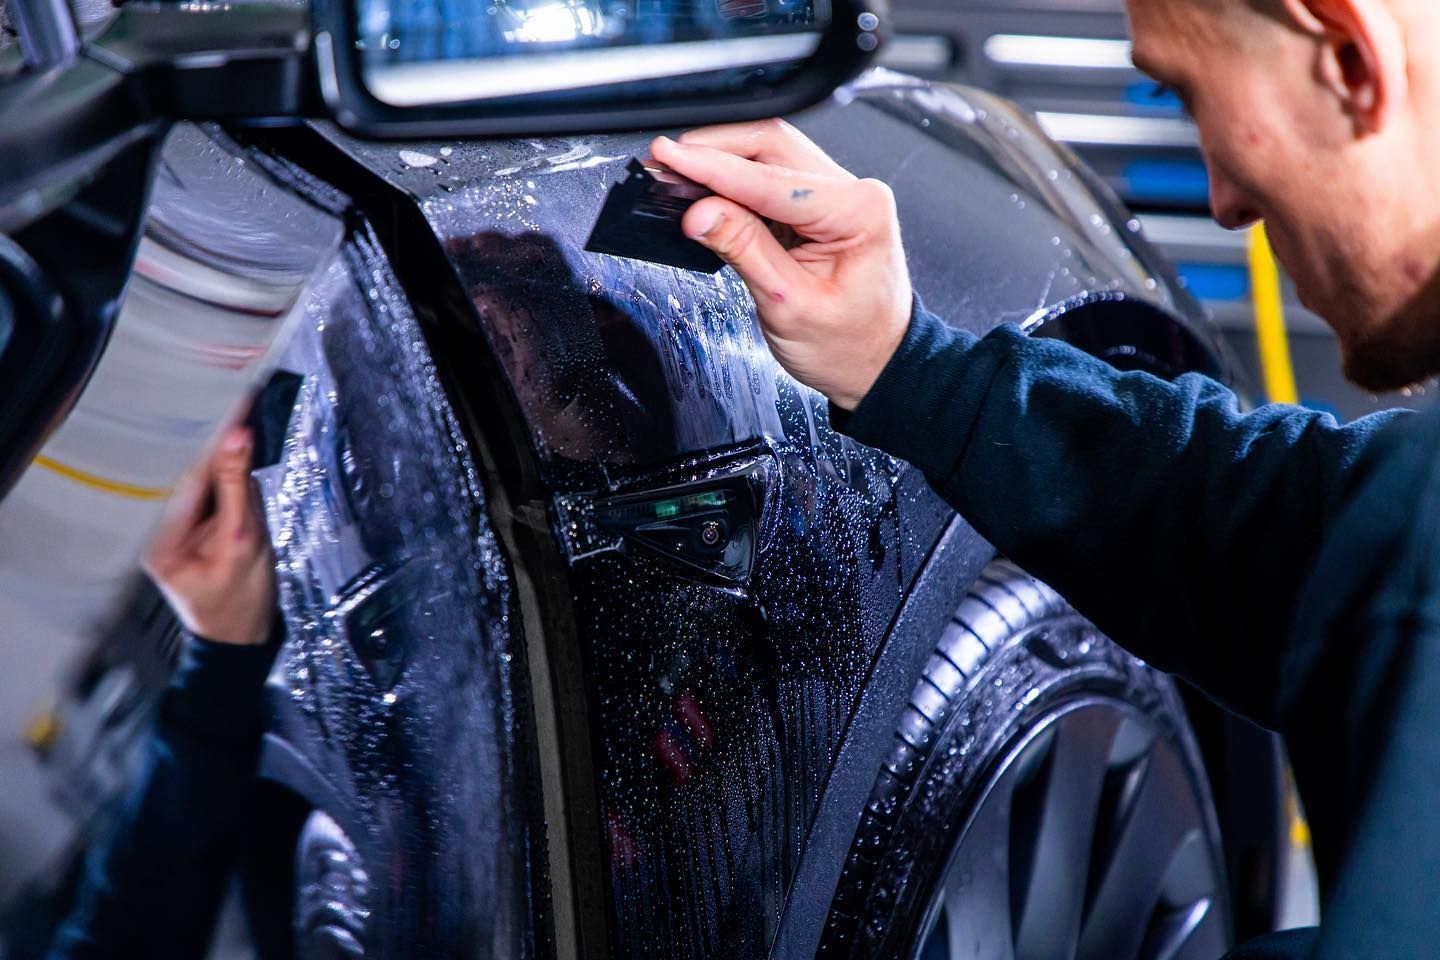
Step-by-Step Installation Guide
The installation of PPF might seem daunting at first, but breaking the process into manageable steps makes it satisfying and rewarding. Let's explore each stage to achieve that professional-quality finish.
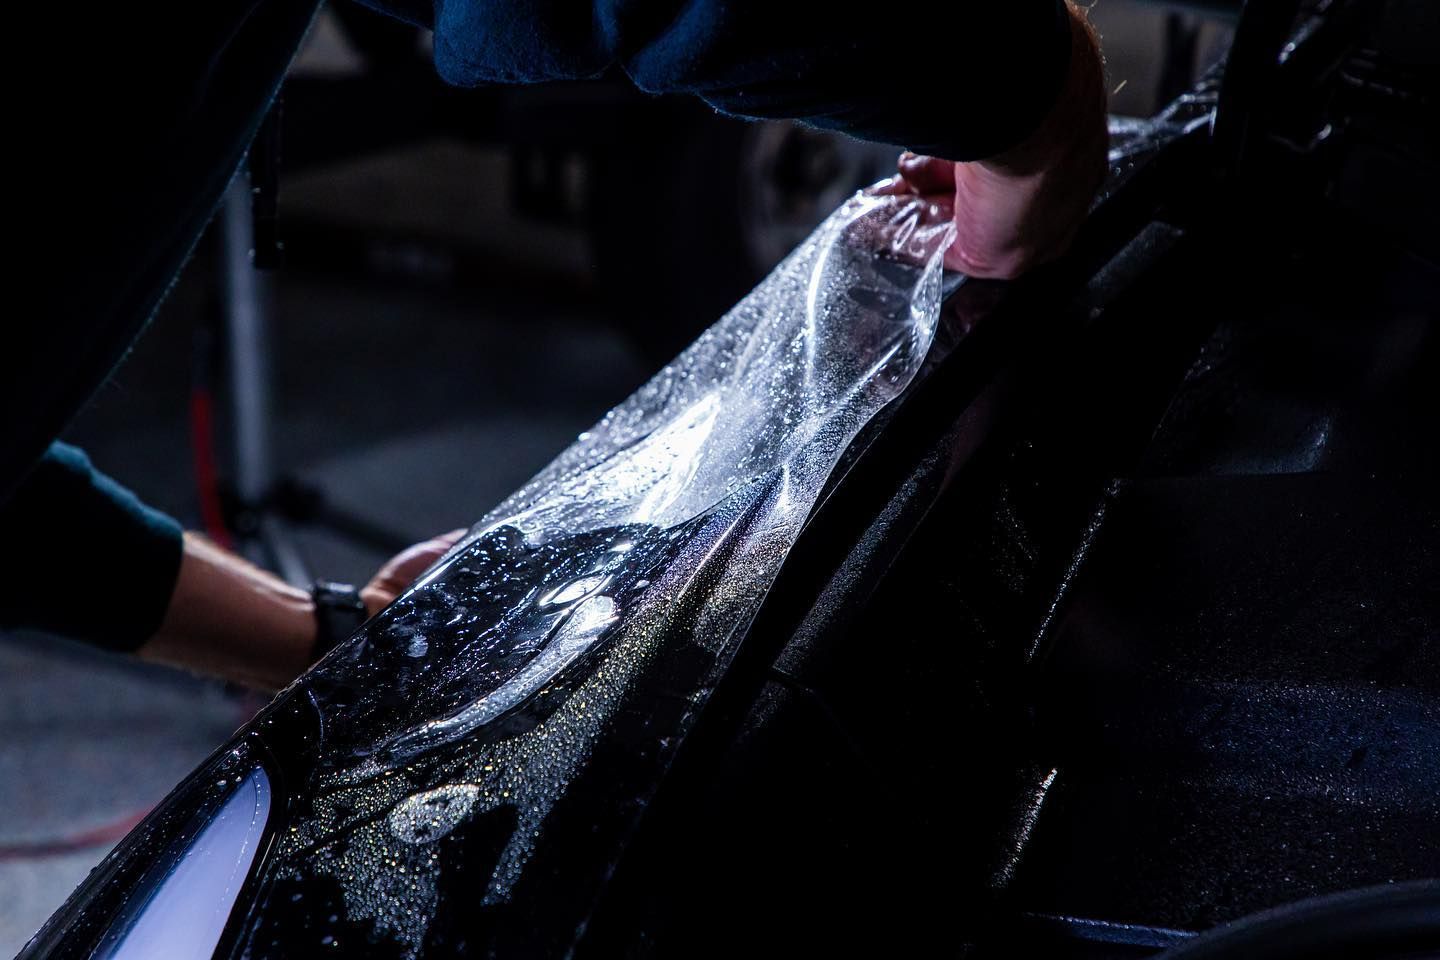
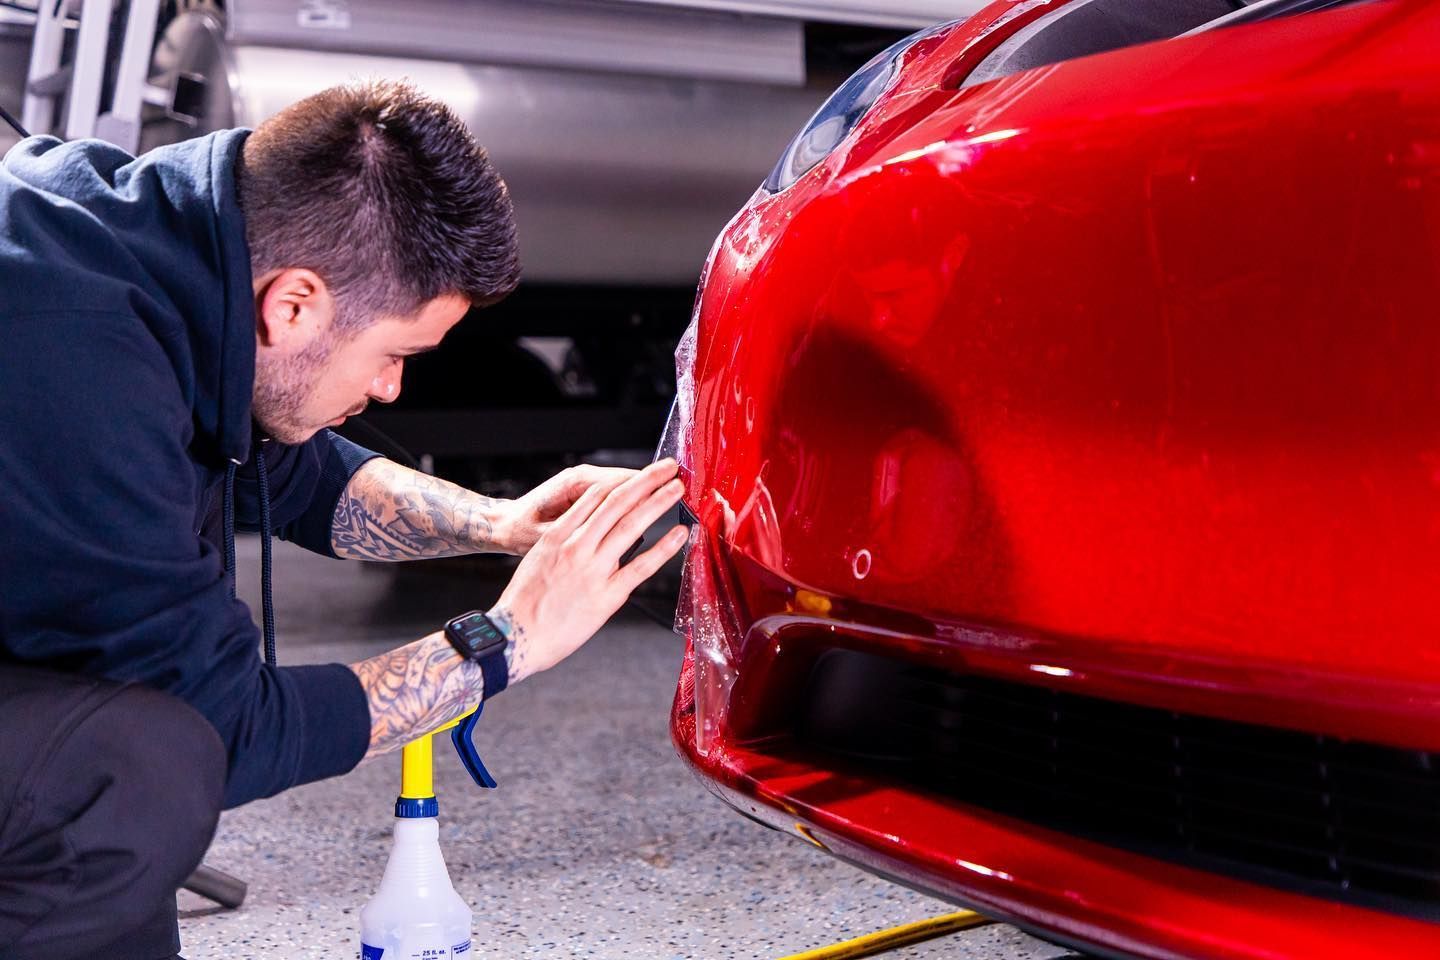
Step 1 - Positioning the Film
Begin by generously spraying a soap solution over the area where you’ll be applying the film. This prepares the surface and allows the PPF to glide smoothly into place. Careful attention is crucial at this point because positioning the film accurately along the panel edges sets you up for success, ensuring everything aligns perfectly as you move forward.
Once you've positioned the film delicately, it's time for the exciting part: securing it in place.
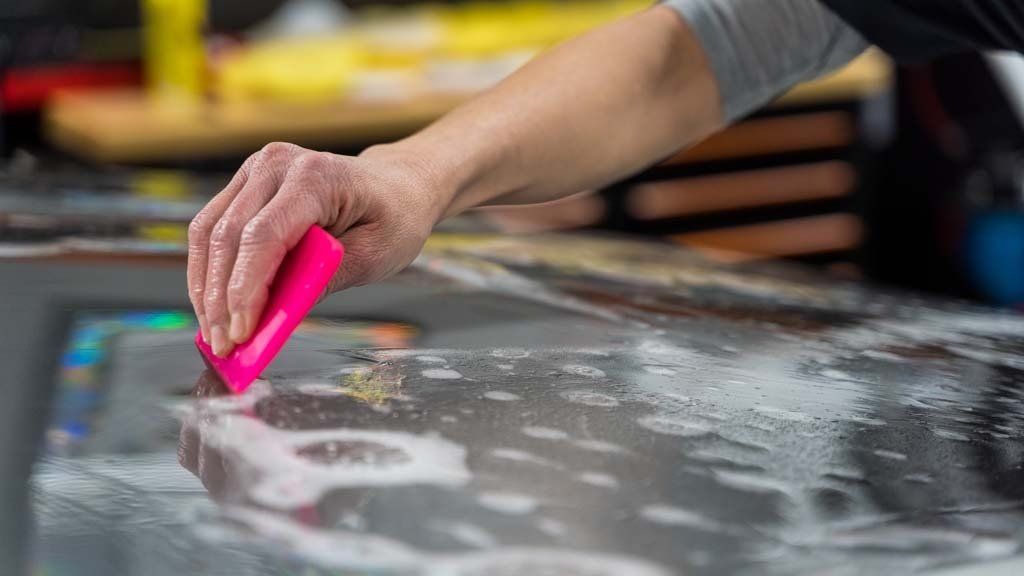
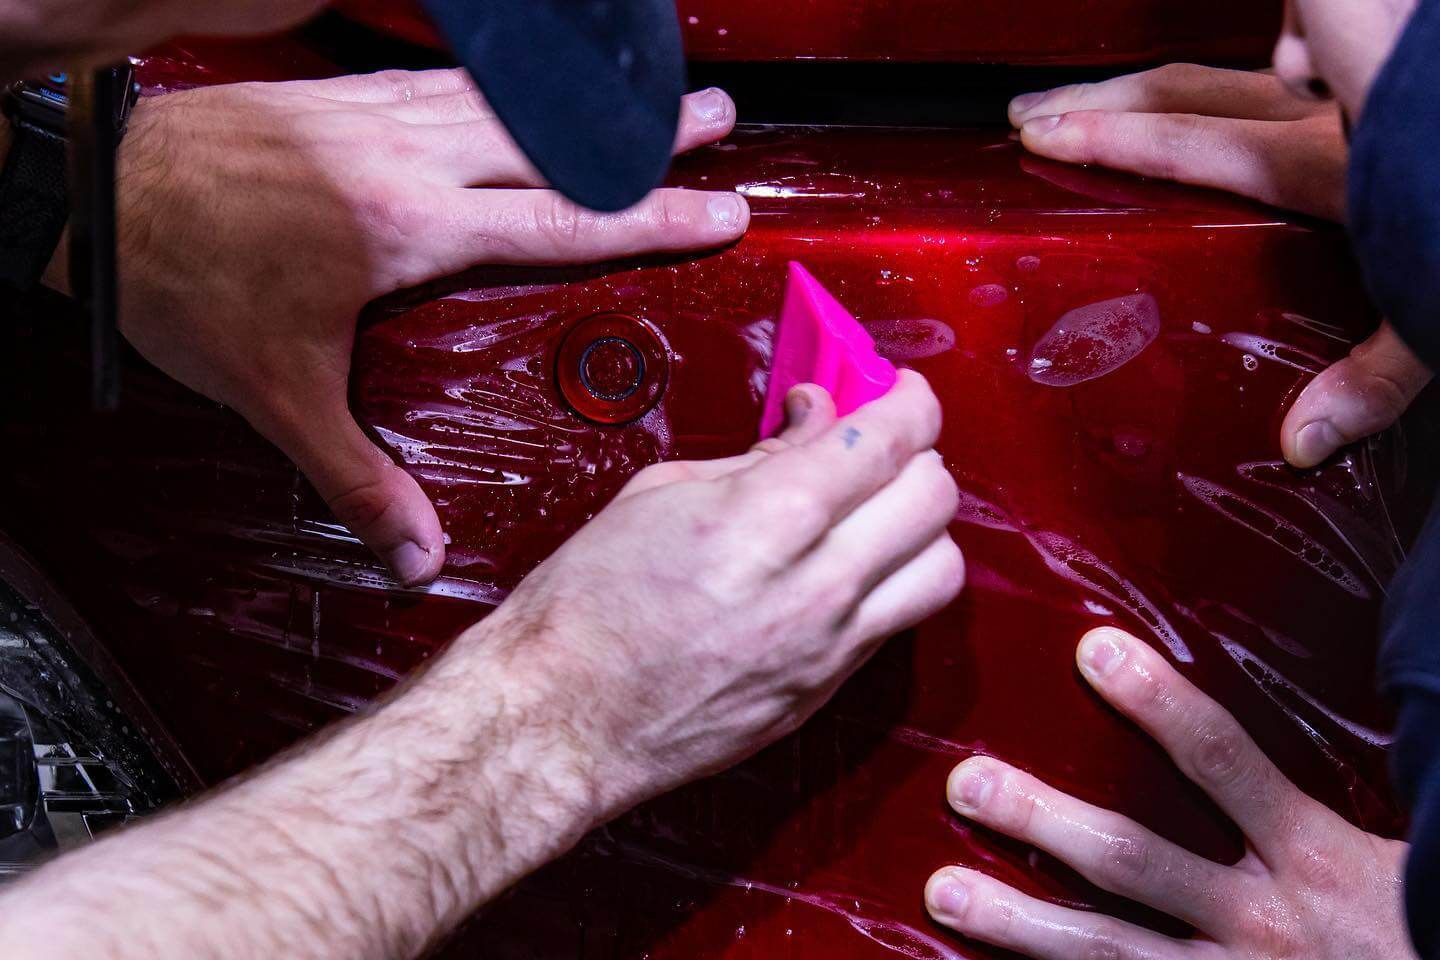
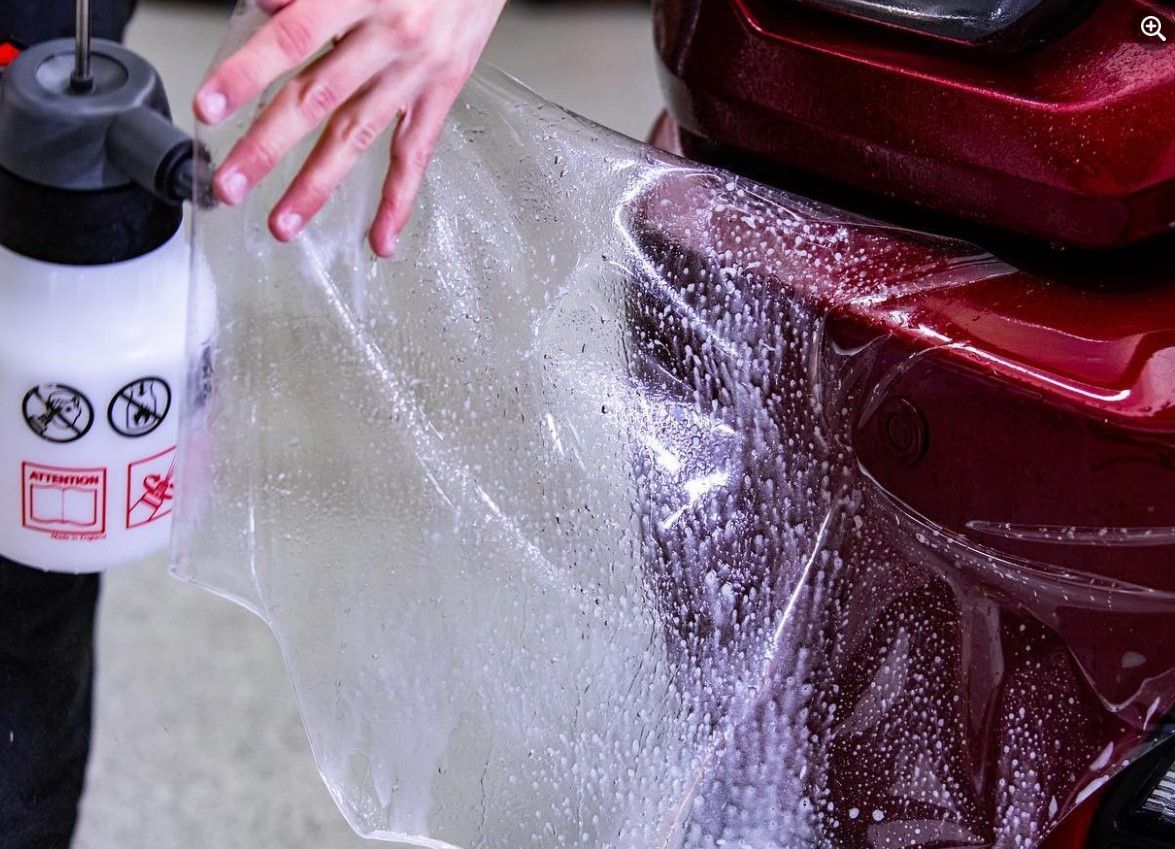
Step 2 - Initial Application
Take your squeegee and, with a gentle but firm motion, start at the center of the film and work your way outward. This method not only secures the film but also prevents bubbles from forming beneath the surface. Remember, patience is key; rushing through this step could result in unsightly bubbles that detract from your clean finish.
Now that the film is tacked down firmly, it’s time for precision trimming.
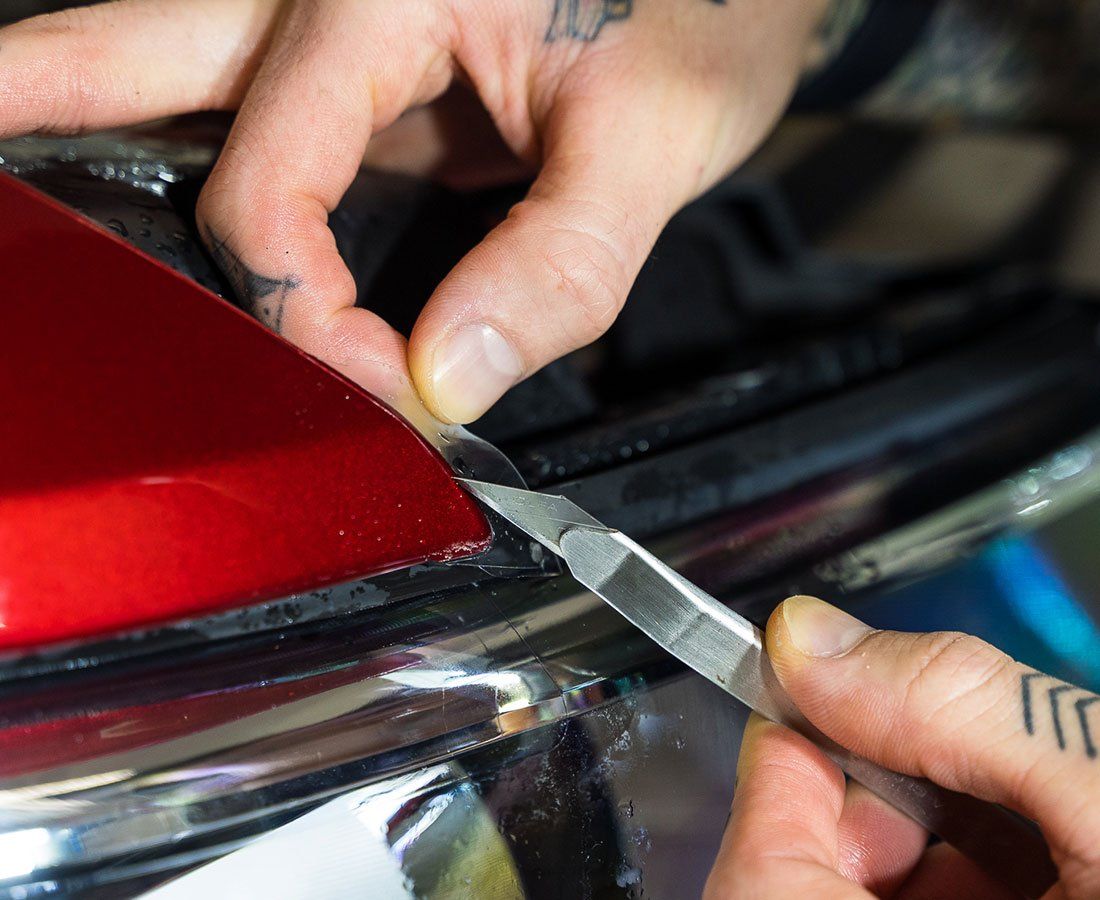
Step 3 - Trimming and Wrapping
Here's where the razor blade becomes your best friend. With steady hands, carefully trim away any excess film around the edges or intricate design features of your vehicle. Defining this cut accurately is essential; leaving just enough material to wrap around panel edges helps integrate the PPF seamlessly with your vehicle's body.
Once you've trimmed everything perfectly, we enter the crucial phase of heating and conforming.
Step 4 - Heating and Conforming
Grab your heat gun and set it to low; softening the film at this stage is vital for achieving a meticulous fit close to every curve and edge of your vehicle. Move slowly and evenly, keeping a consistent distance from the surface you're working on to avoid overheating or damaging either the PPF or your car's paint.
As we reach the final stages, it’s important to ensure everything is flawless.
Step 5 - Final Inspection
After believing everything is set in place, take a moment for a thorough inspection—this can make or break your project. Carefully examine for any remaining air bubbles or imperfections; think of yourself as an artist standing back from their canvas to admire their work. Use that trusty squeegee again with light pressure to coax any tiny bubbles out; combined with some gentle heat from your heat gun, these imperfections should smooth out beautifully. The goal here is to achieve that tight, flawless finish reminiscent of high-quality professional installations.
Now that you’ve completed these essential steps successfully, being aware of common pitfalls will further enhance your application process and protect your investment effectively.
Avoid Abrasive Substances
When it comes to preserving the integrity of your paint protection film, one of the most crucial factors to consider is steering clear of harsh chemicals, polishes, and waxes. These seemingly harmless products can actually have detrimental effects on your protective film. Harsh chemicals contain compounds that can erode and degrade the protective layer of the paint protection film over time, diminishing its effectiveness in safeguarding your vehicle's paint. Waxes and polishes, although intended to enhance the shine and longevity of your vehicle's surface, can be counterproductive when applied to paint protection film. Their abrasive nature can cause micro-scratches and compromise the protective film, thereby reducing its ability to shield against external elements.
Professional Inspection and Care
Ensuring your paint protection film remains in optimal condition and extends its longevity involves professional inspection and care. While regular at-home maintenance is important, professional check-ups provide a deeper level of expertise that may uncover issues missed during routine cleaning. Properly trained detailing professionals possess the know-how to spot early signs of damage or wear on your paint protection film that may escape regular cleanings. They can identify issues like scratches, discoloration, or edge lifting before they worsen, saving you time, money, and potential headaches. Moreover, their specialized knowledge enables them to recommend and perform tailored maintenance techniques for optimal PPF performance.
Frequency of Professional Inspection
We recommend scheduling professional inspections every 6 months to identify potential issues early. This proactive approach allows for prompt maintenance, preventing minor problems from escalating into major concerns. Routine professional inspections maximize the benefits of your paint protection film investment. Investing in professional inspection and expert paint protection film maintenance services is essential for maximizing the longevity and protective capabilities of your paint protection film.
To ensure your paint protection film stands the test of time with professional care and maintenance, contact us at Lucent Auto Work or call us at (253) 533-6776.